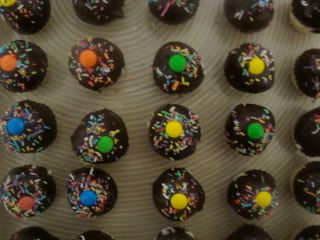
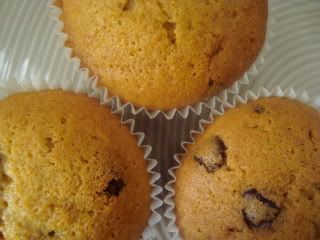
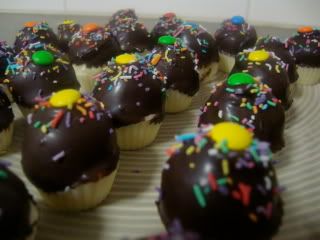
No one won the election that evening, but all our guests won because they got to pop a few of these leetle guys.
Bakerella really explains it best, but I'll jot down some easy-as-pie directions just in case clicking on a link is too much work for you.
Actually, if clicking on a link is too much work, I advise against making the Cupcake Bites because it's a tedious process with multiple steps and a bit of waiting...
... and a LOT of pleasure at the end when you eat them.
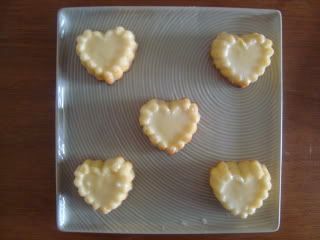
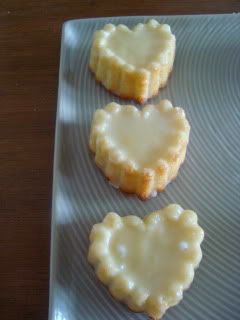
Little Cupcake Bites
1 box of cake mix (vanilla, chocolate, red velvet, whatever!), or make your own.
1 can of frosting (or... make your own)
1 block dark/milk chocolate or dark/milk chocolate bits for melting
1 block white chocolate or white chocolate bits for melting
A candy mould
Sprinkles
Mini m&m's
1. Make the cake, then allow it to cool.
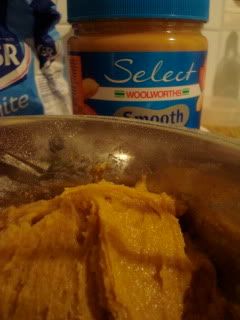
2. Once cooled, crumble it up so it's all crumbly in a mixing bowl.
3. Add the frosting and mix them.
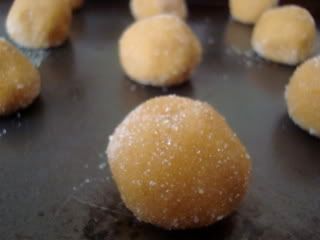
4. Roll the cake-frosting paste into little balls, then pop them in the fridge.
5. Melt your white chocolate and divvy it up into the candy moulds (almost 1/2 full).
6. Press a little cake ball into each mould so that the white chocolate is pushed up around the sides of the ball.
7. Put them in the freezer to set.
8. Once set, melt the dark/milk chocolate and remove the cake balls with the white chocolate base from the moulds.
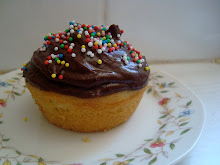
9. Dip them into the dark/milk chocolate upside-down.
10. If you have a friend, have them sprinkle and m&m the Cupcake Bites right after you dip them.
11. Put them in the fridge to set.